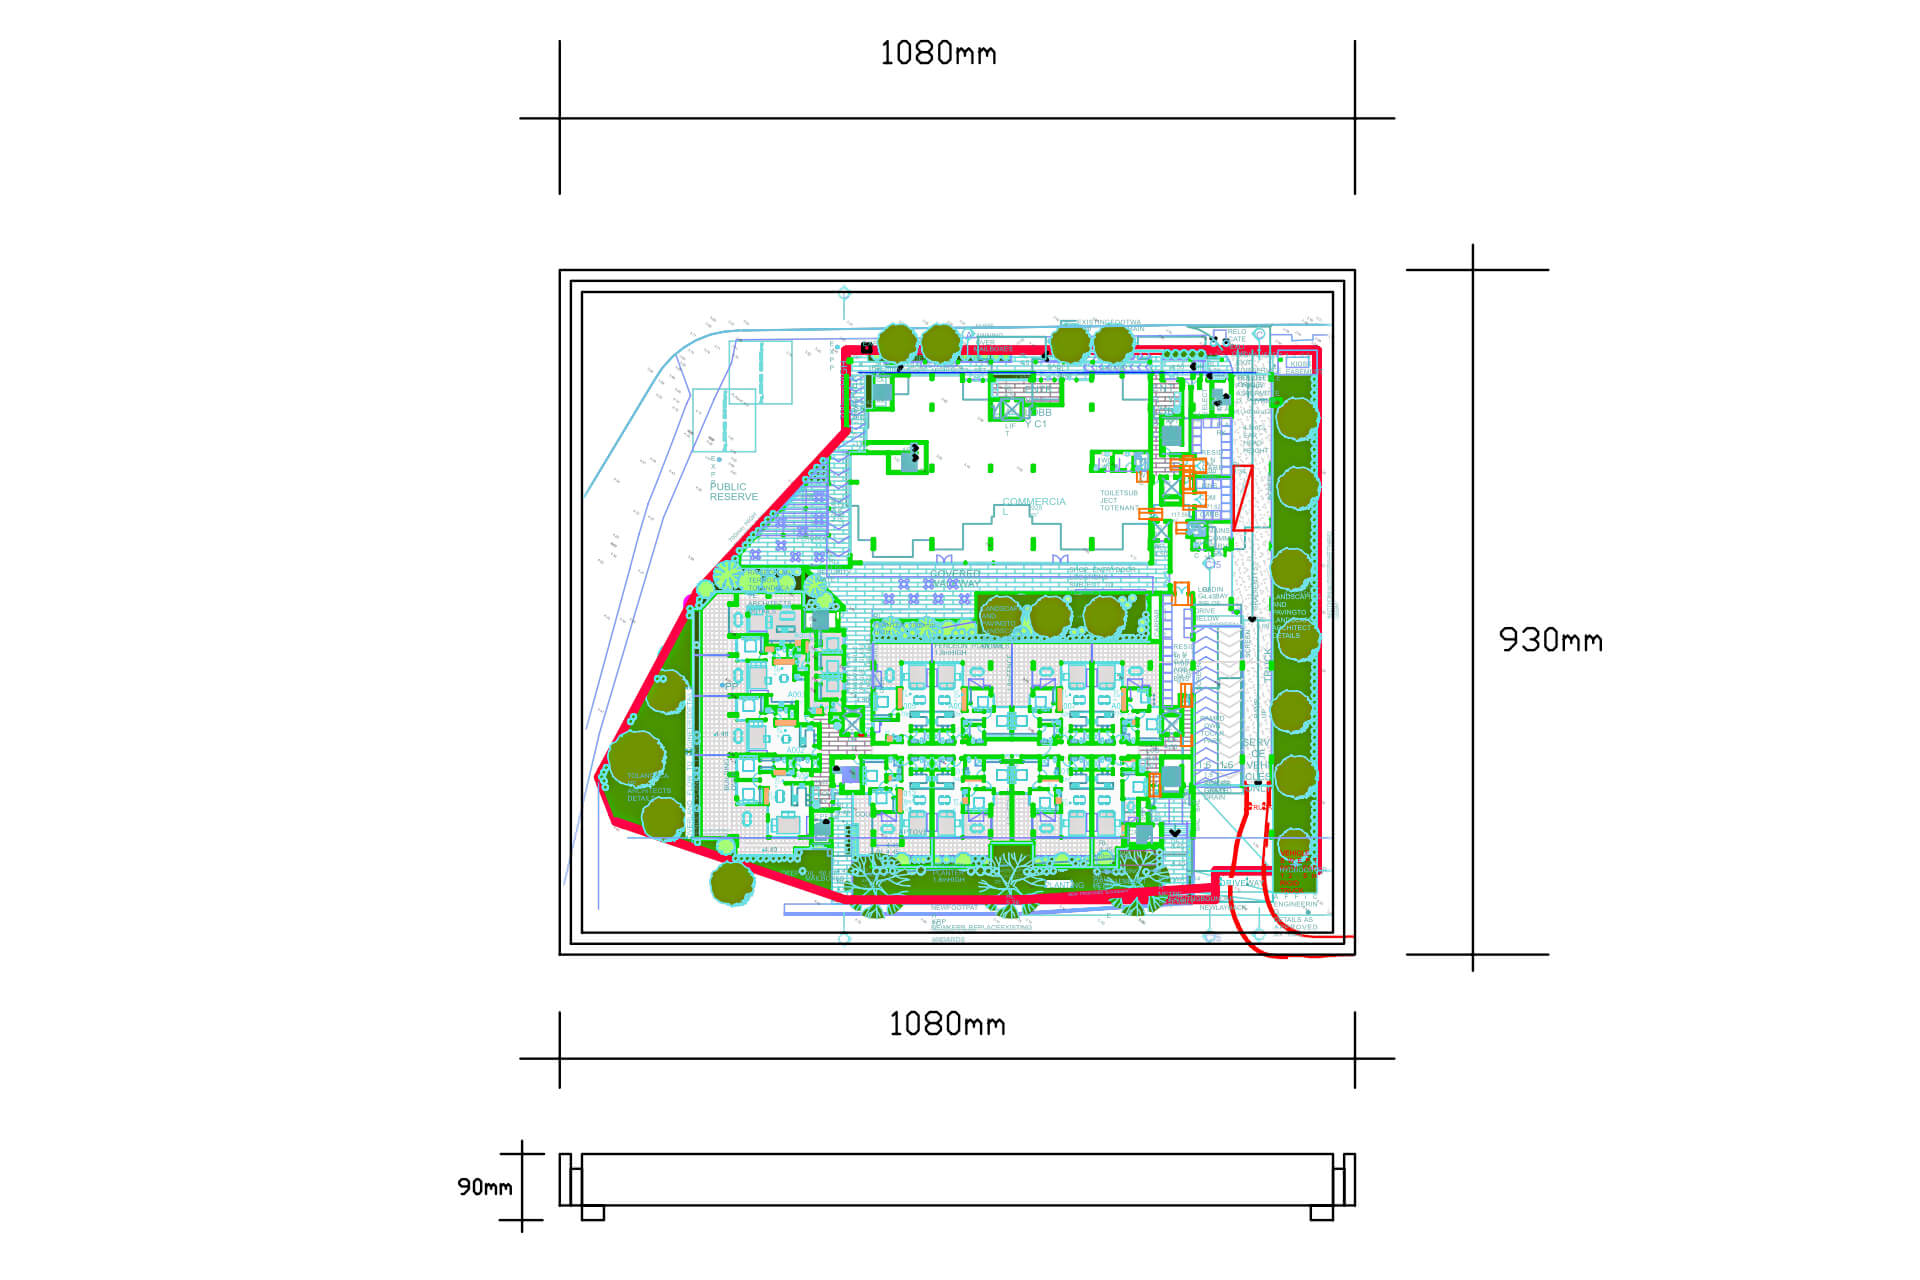
Stage One - Model Boundary Confirmation
Every project is different. Differences include the overall site extents, natural terrain as opposed to built form, public areas and other areas such as train stations, or alternate terrain such as water bodies and oceans. It is important to establish a model boundary for approval prior to model commencement. The model boundary will form the extent of the model base, and also set a suitable scale to suit (1:100, 1:200, 1:500 etc). We also establish details of the model such as monochrome or color, lighting requirements, and other details such as massing, full and half detail.
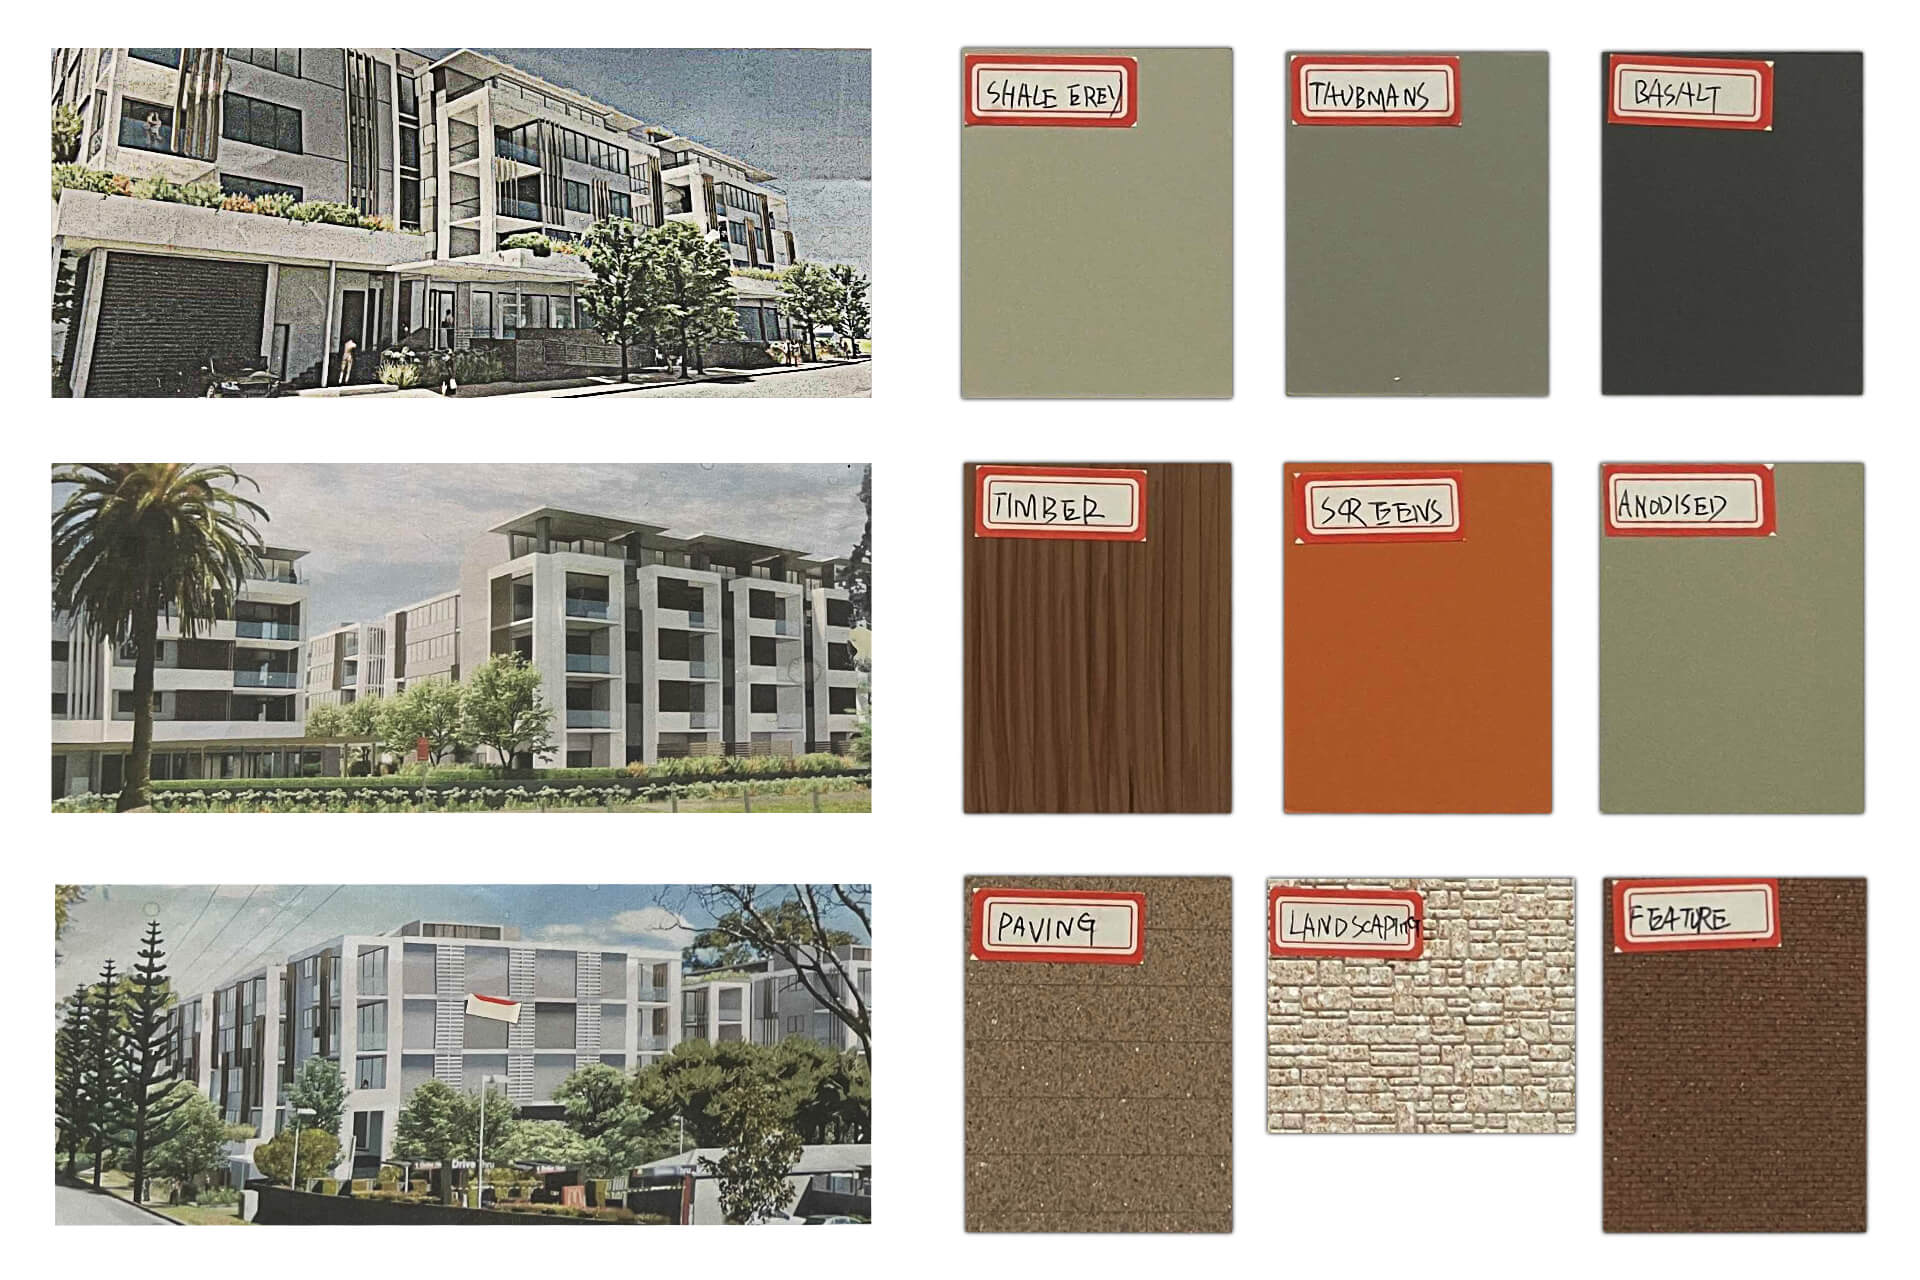
Stage Two - Color Sample Verification
Each project will specify a series of colors and materials (Exterior and Interior) and will be formalized into what is called a Finishes Schedule. Due to the nature of coded paints and textures and the surface they are applied to, PREMIER3D needs to verify and have the colors approved by you and your consultants, via a series of color swatches. This gives you peace of mind in knowing that the final model will reflect colors and materials selected by you and your consultants.
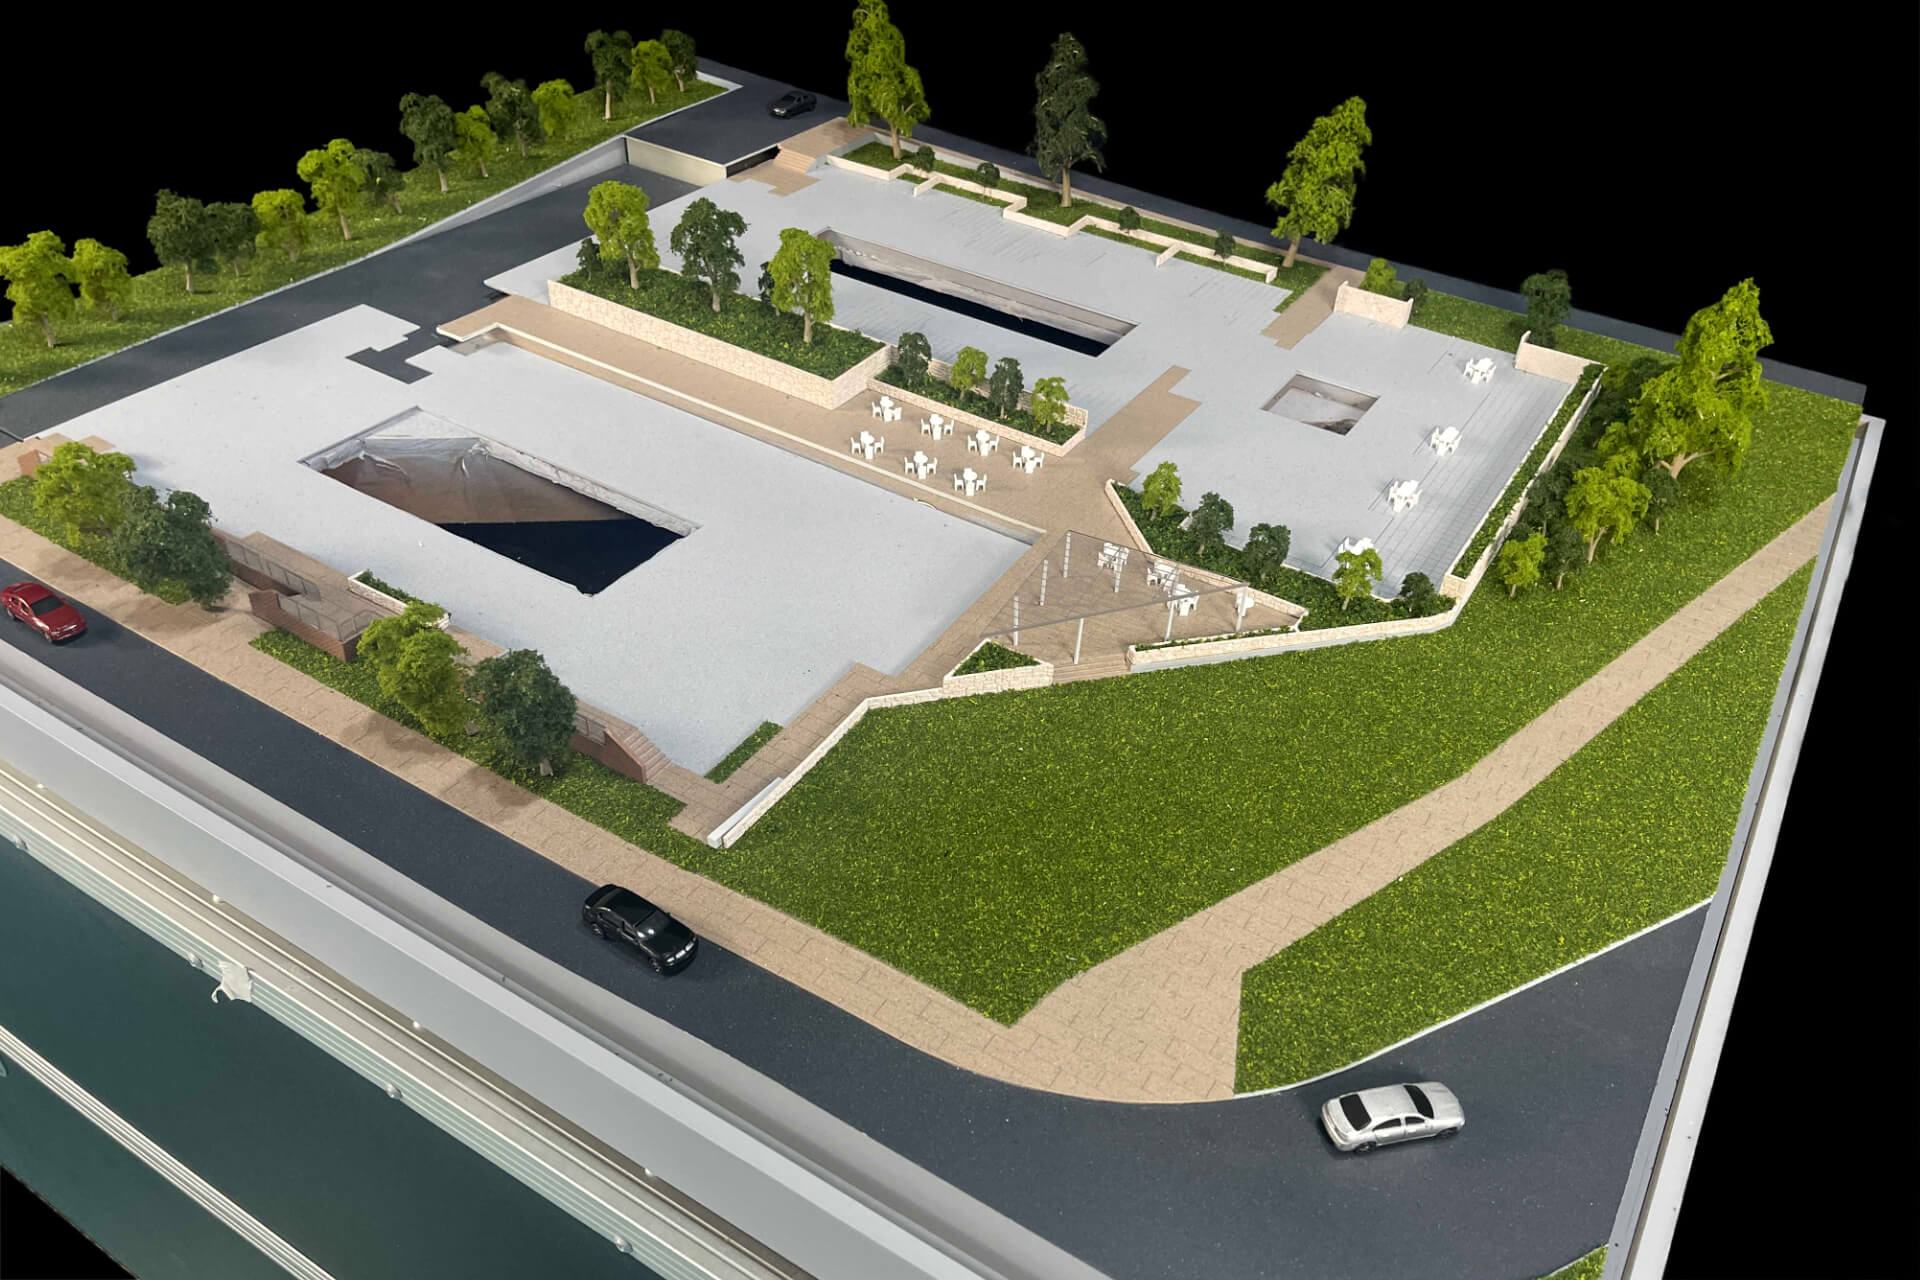
Stage Three - Model base construction
Once the Model Boundary and Color Swatches are approved, we can now start on the model build. The base is the first aspect to be constructed, according to the approved Model Boundary. Progress Photos will be issued for review; however, no formal review will be required at this stage.
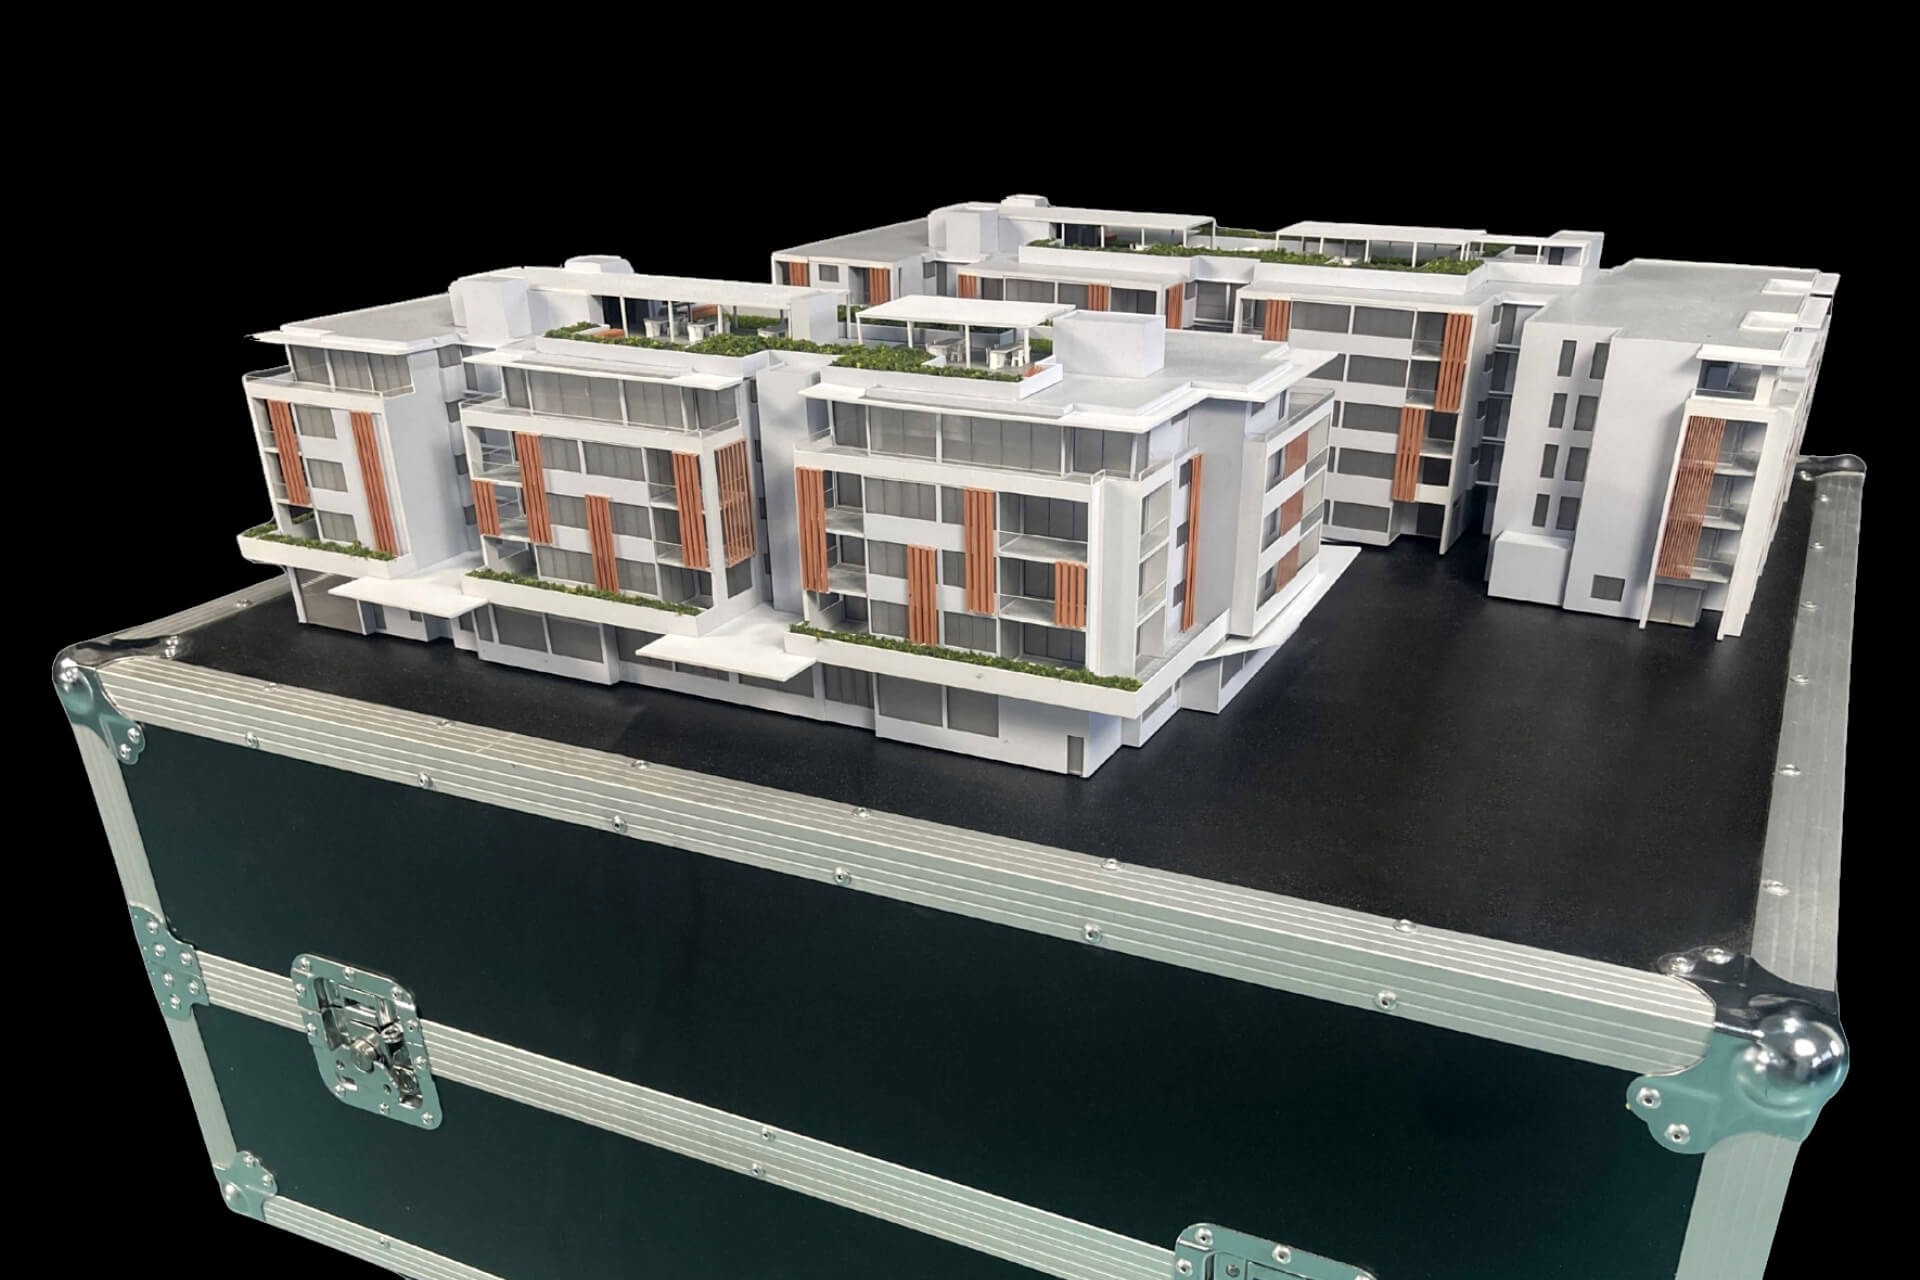
Stage Four - Building Cutting and Assembly
The drawings provided need to be entered into what we call ‘CNC Processing’. CNC Progressing is the process of entering and ‘cleaning up’ all the provided DWG files. The term ‘Cleaning Up’ refers to the deletion of all annotations on the DWG files so the CNC Reader can read the drawings for material cutting. Once this process is complete (4-5 days in general), the model buildings are cut, assembled and colour sprayed.
Stage Five - 80% Completed Model Progress Photos with Buildings and Model Base attached
Now the exciting part occurs – the model is at a stage for review and comment. The buildings are attached to the model base and the lighting finalized. Basic landscaping is applied. Progress photos are issued.
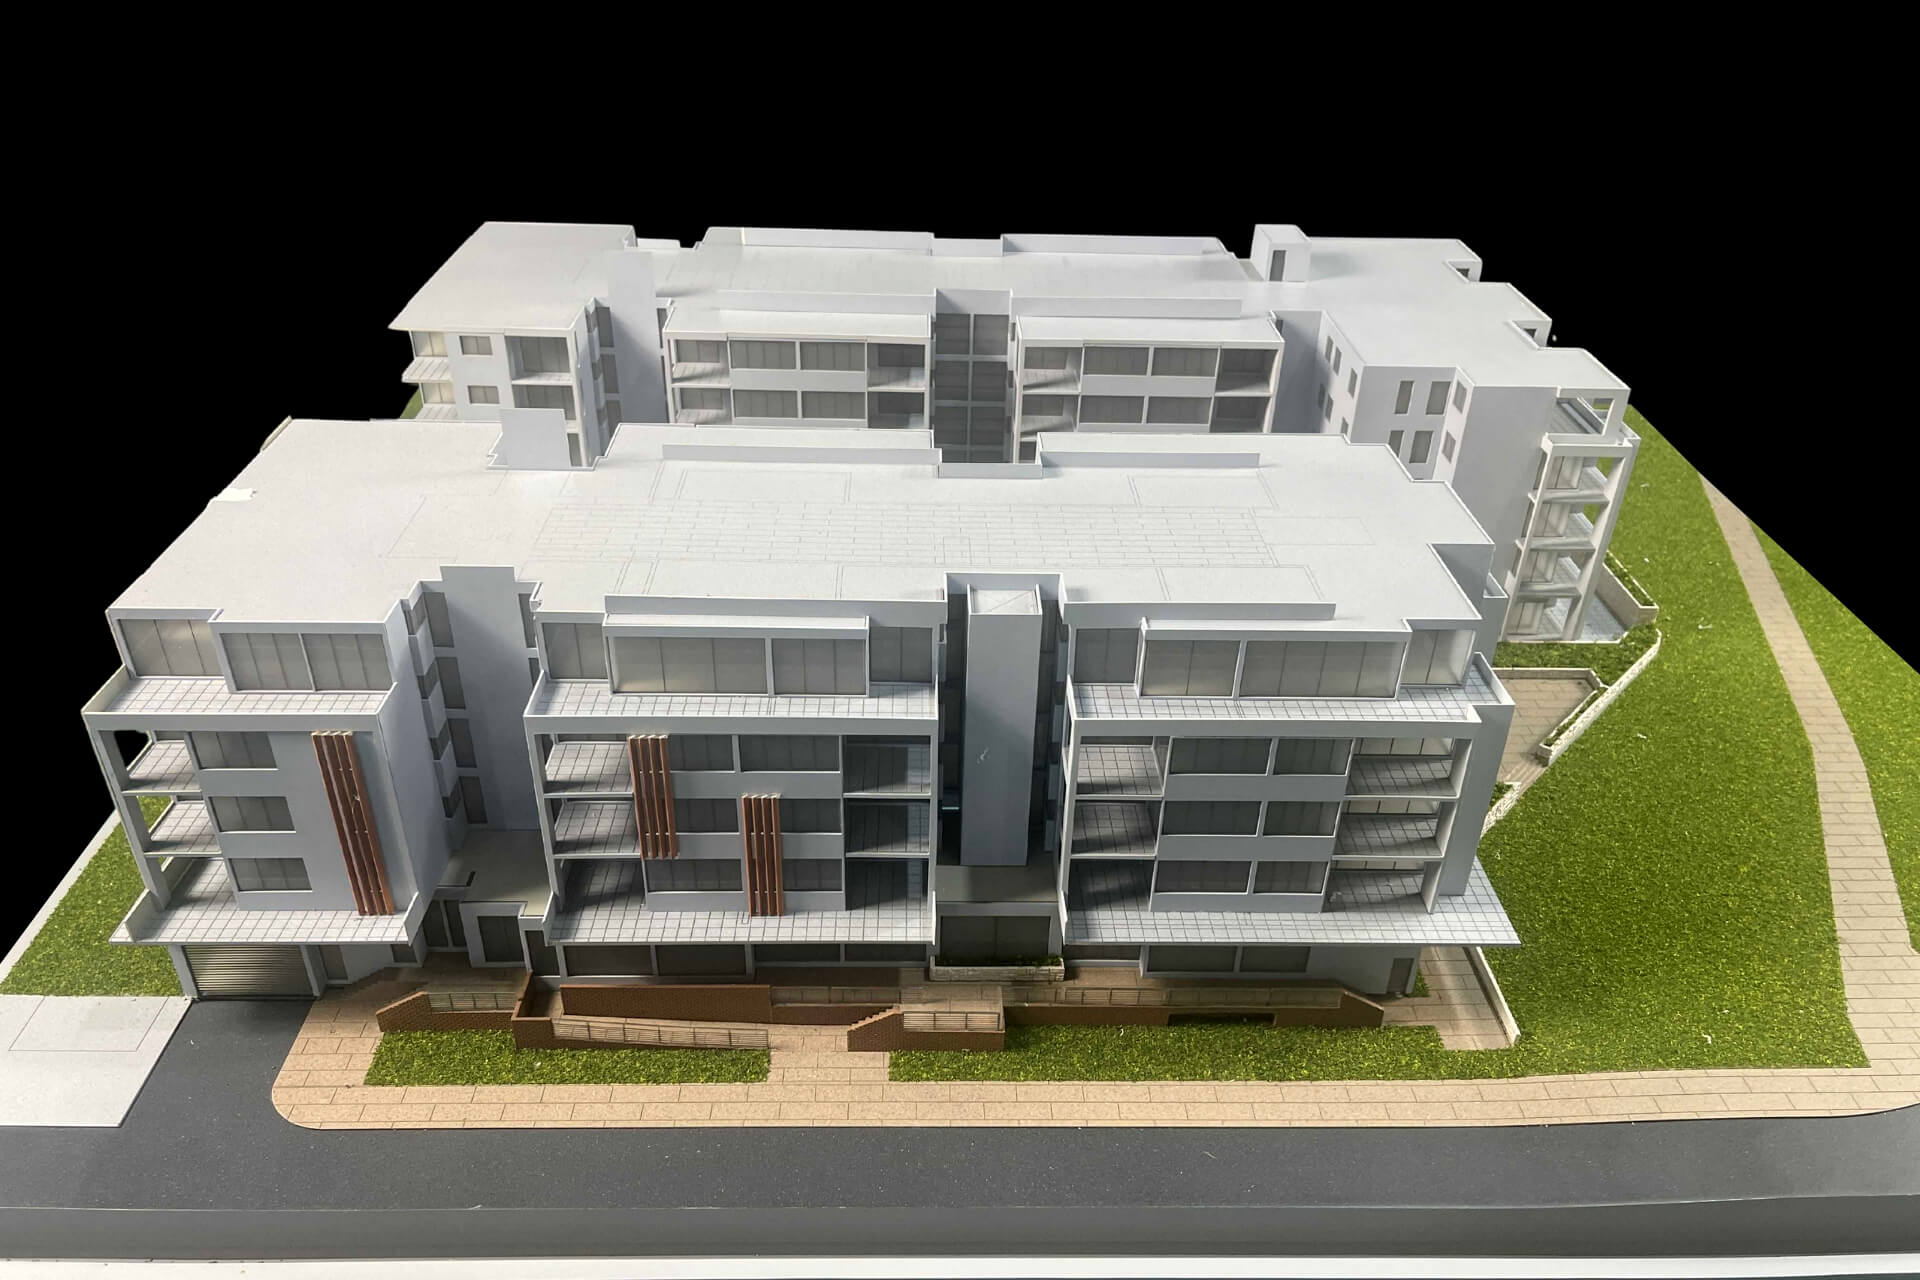
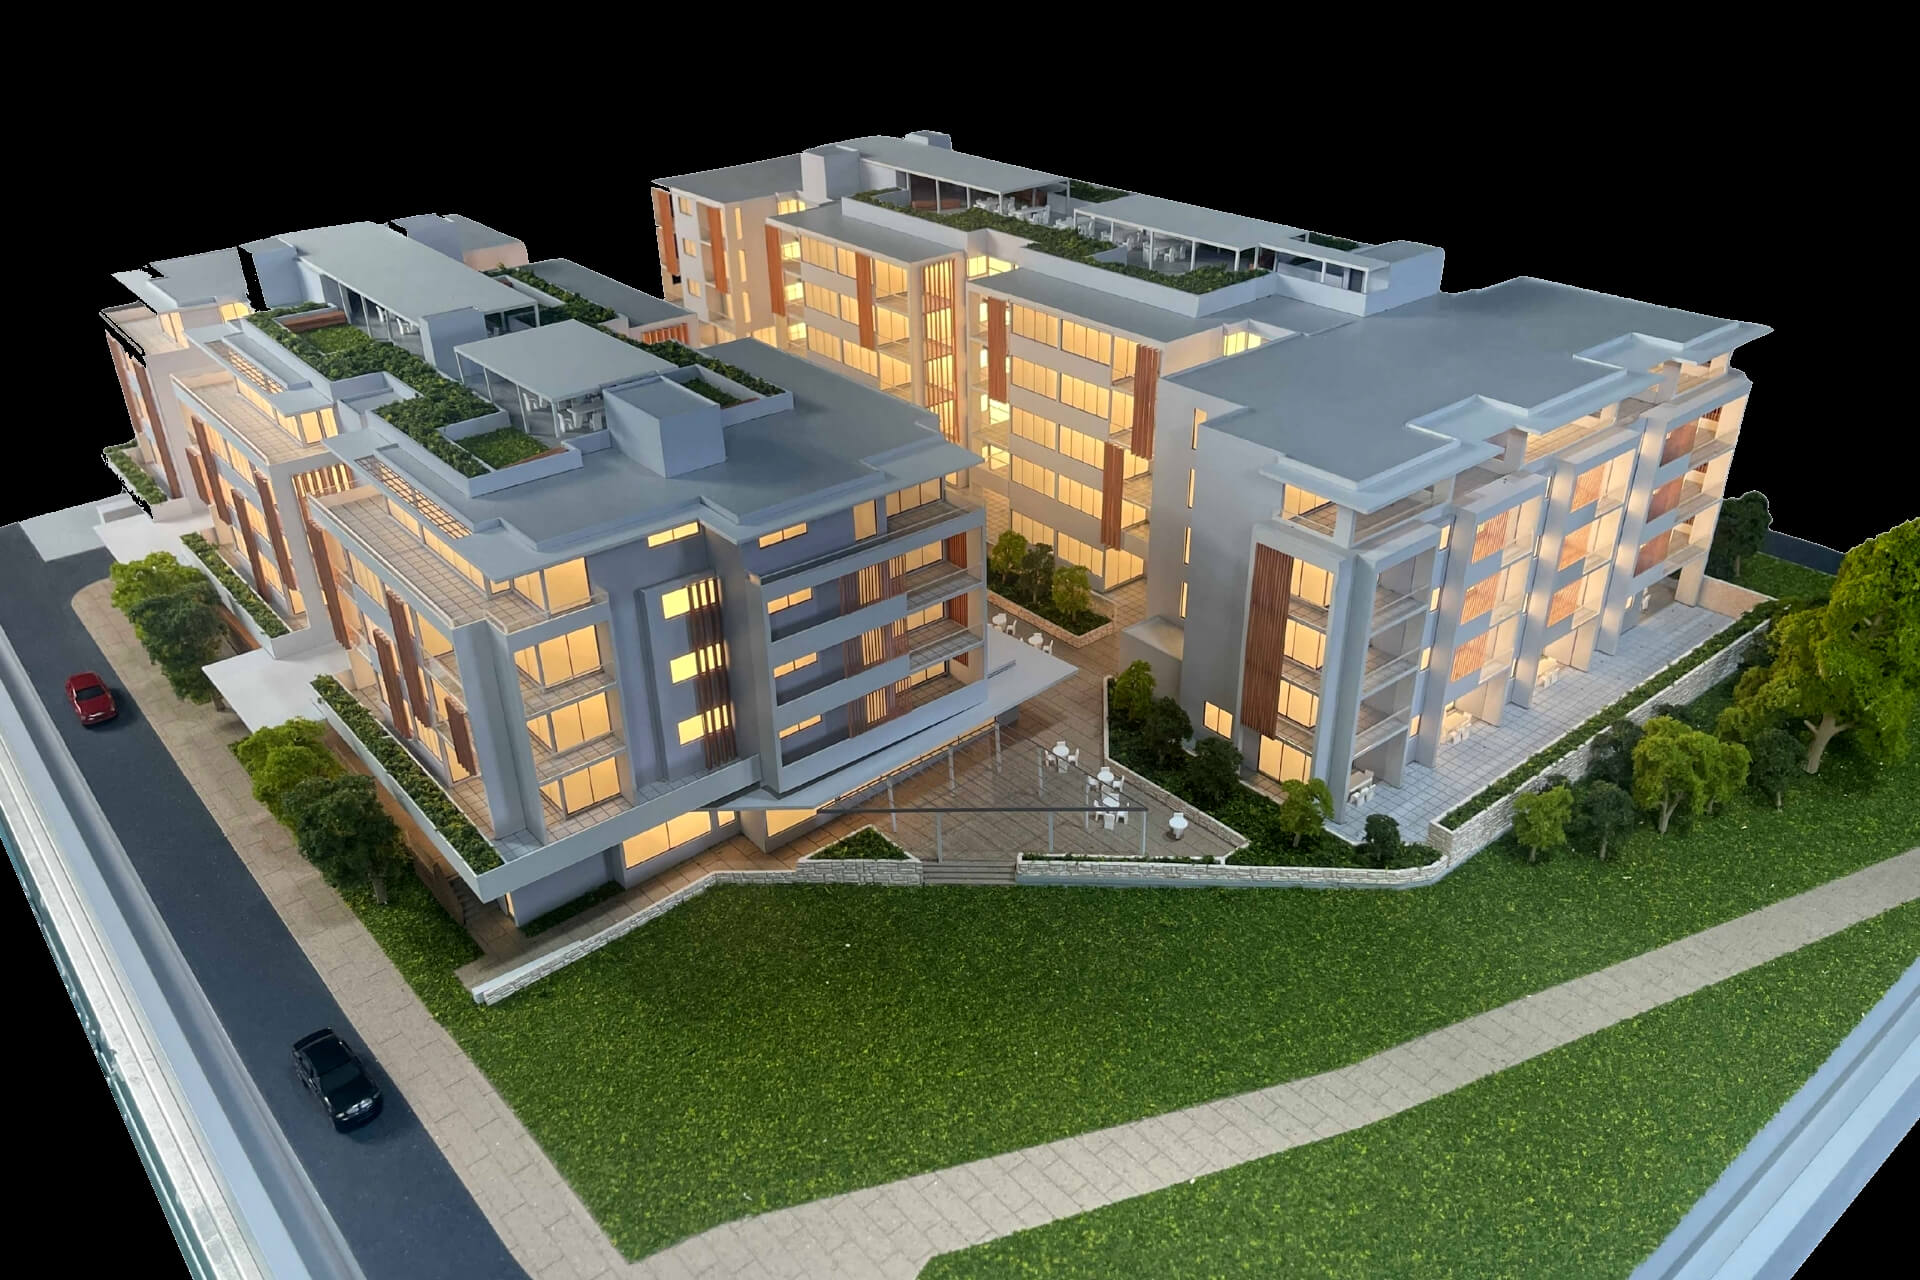
Stage Six - 100% Completed Model Photos Issued for approval
Once all comments and reviews have taken place, the model is ready for delivery and installation. Our installation team will make contact to book a date or, if the model is handheld/transportable by a single person, they will confirm the delivery time and address.
Road Case
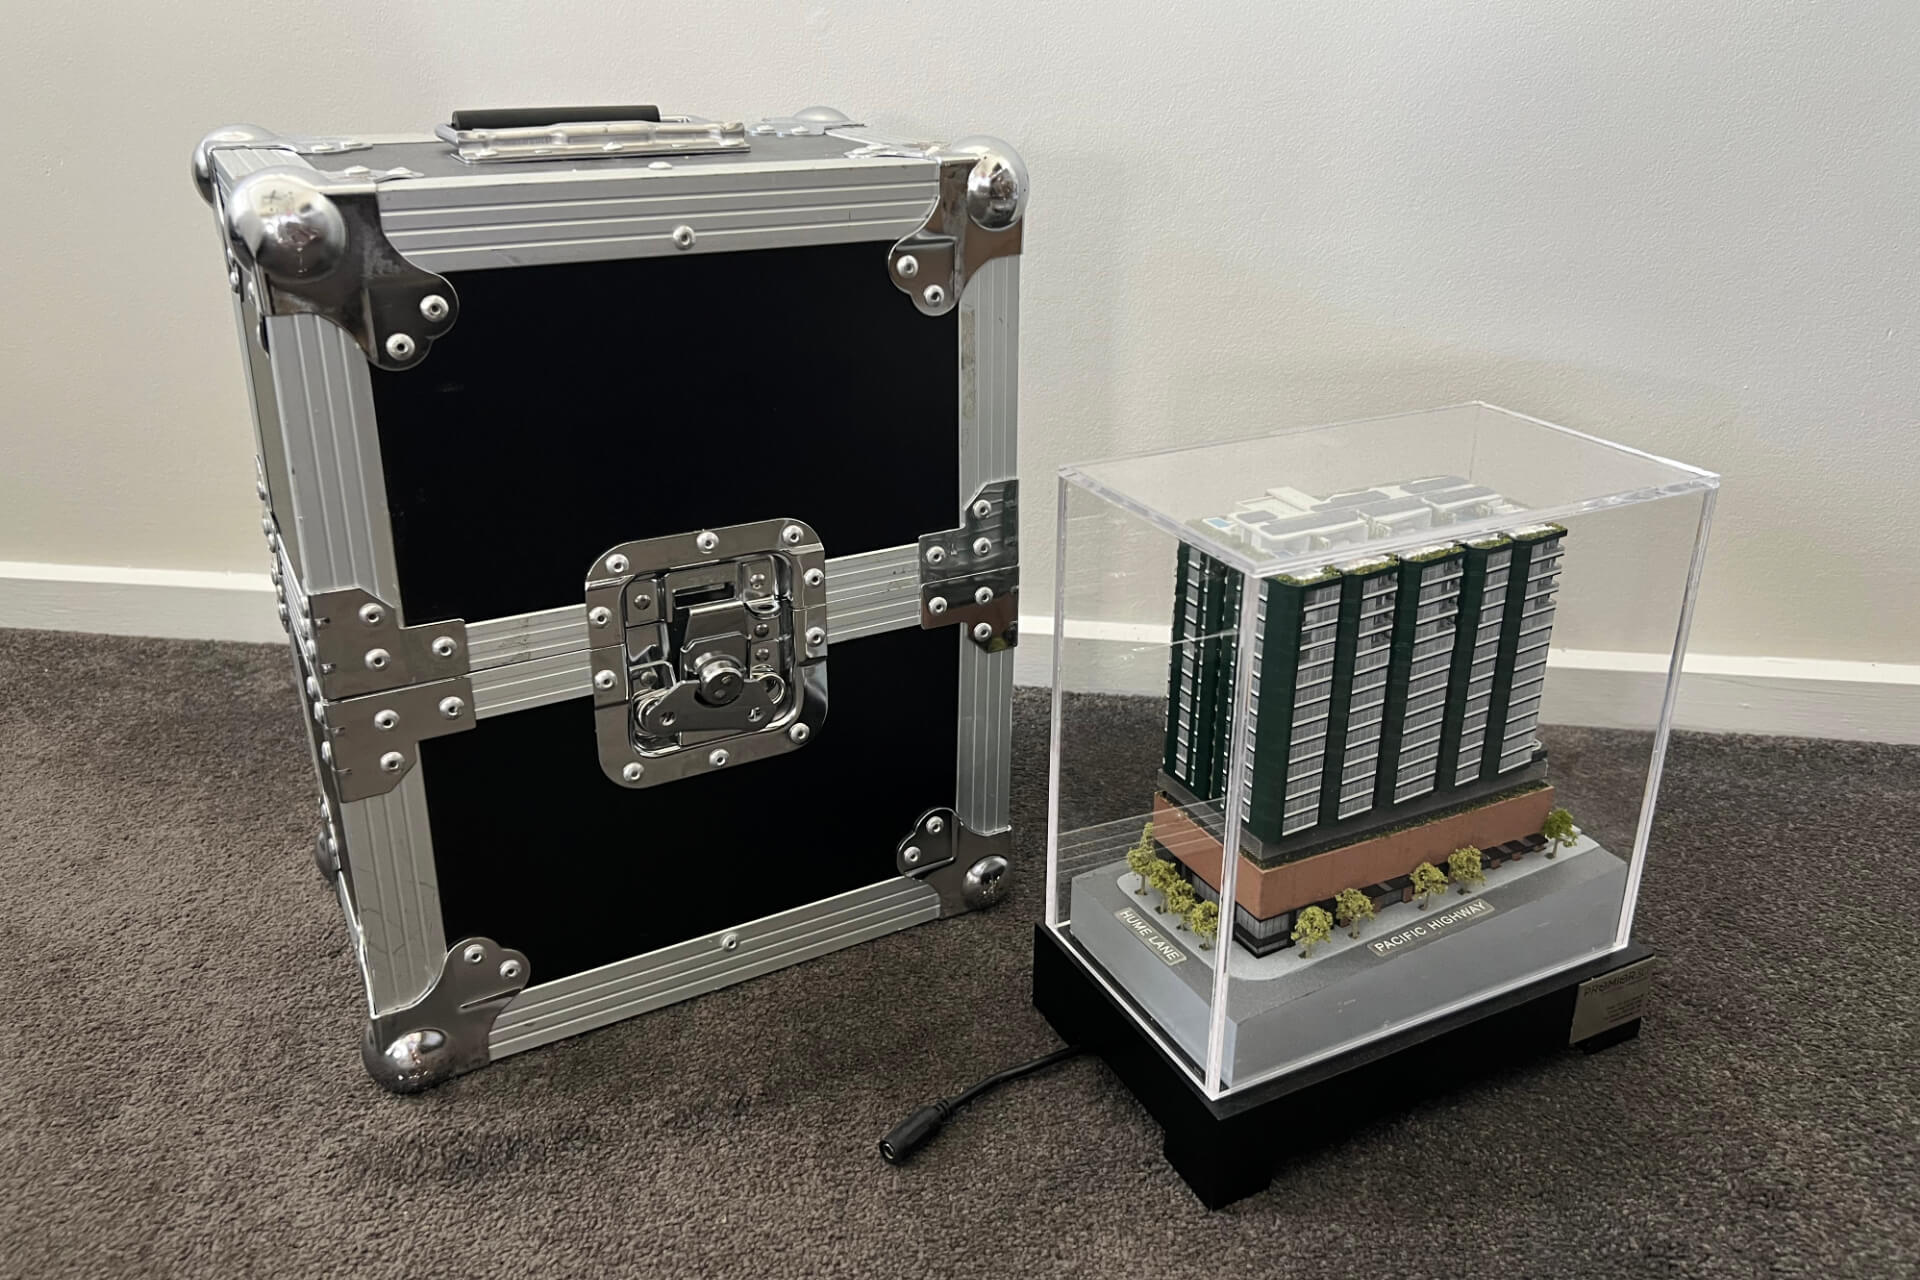
All our models come with a specially made road built specifically for each model. We do this to ensure the model is protected in transport and also is able to be stored, in the event your team requires to model to be moved to alternate display venues or tradeshow events.
Professional Photography
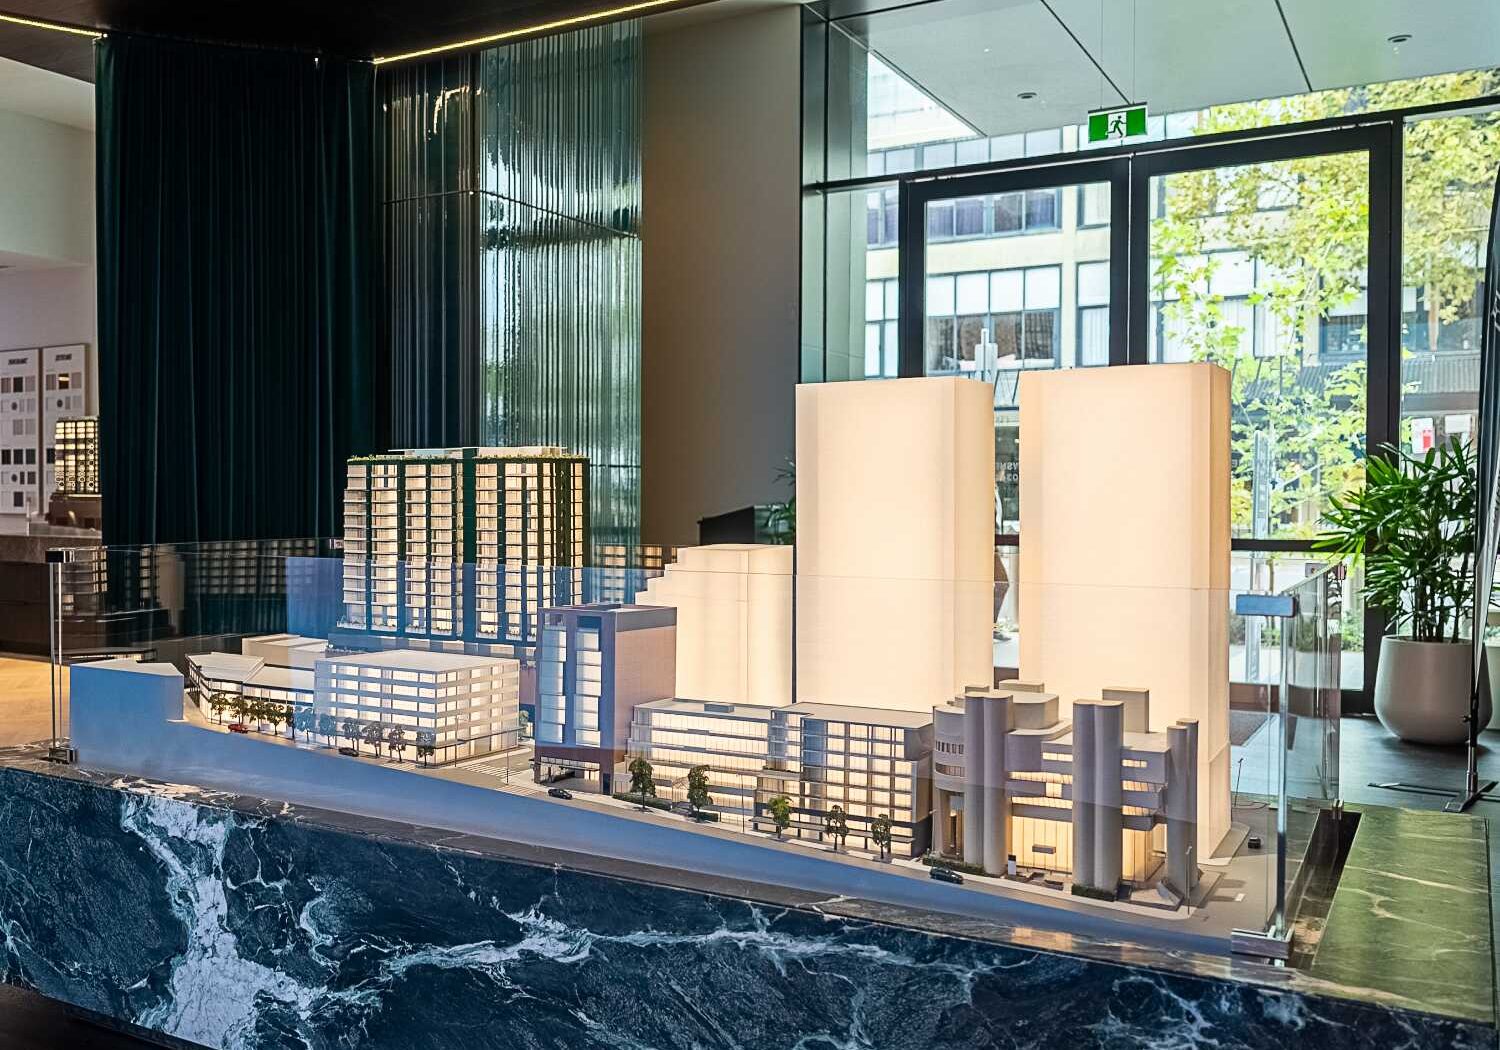
All installed models will be offered complementary, professional photography of the model and display center. Please talk to our delivery team about booking this, after the model is delivered and installed.
Lighting - Standard or Interactive (IPAD or Third Party API)
All 3D Scale Models, whether they have standard lighting with an AC switch or Interactive (Third-party API or iPad), follow the same model construction process (Above).
With Interactive Lighting Models, if the model is to be integrated into a third-party API, then a separate controller will need to be purchased and installed during the model construction process. PREMIER3D will manage this process so your team will not have to do this independently.
Please talk to our sales team about this option, process, and associated costs.

